Node, React, and Next.js
This tutorial will show you how to use the Lokalise Node SDK to upload/download translation files to/from your Lokalise project and set up an OAuth 2 flow.
In this tutorial you'll learn how to...
- Work with Lokalise API tokens
- Upload translation files with Lokalise API
- Download translation files with Lokalise API
- Implement an OAuth 2 flow
- List customer projects
- Act on the customer's behalf and upload/download translation files
Prerequisites
This guide assumes that you have a Lokalise project (if not, learn how to create your Lokalise project here). In this tutorial, we are going to upload English translations. Therefore, make sure that your project has the English language added with the “en” ISO code.
If you want to follow this guide locally on your computer, you need to have the following software installed:
What we are going to build
In the first part of this tutorial, we are going to create a simple client-side app that will upload an English translations file to your Lokalise project and download it back again.
In the second part, we'll set up a Next.js app, implement an OAuth 2 flow, and act on the user's behalf to list their projects.
Working with API tokens
Source codePlease find the source code on GitHub.
Creating a project
Create a project directory by running the following command and providing your project name:
mkdir YOUR_APP_NAMENavigate to your newly created folder and initialize a Node project in it by running the below command:
cd YOUR_APP_NAME && npm init -yInstalling dependencies
About Node SDK v9Please note that starting from version 9 our Node SDK is a pure ESM module. It does not provide a CommonJS export (
require) anymore. Therefore you should either convert your project to ESM, use dynamic import, or use version 8 which we are fully supporting.
Install @lokalise/node-api and dotenv packages, and save them to your package.json dependencies using this command:
npm install @lokalise/node-api dotenv adm-zip [email protected] --saveYour package.json file should now look like this:
{
  "name": "upload-i18n-files-node-api",
  "version": "1.0.0",
  "description": "",
  "main": "index.js",
  "scripts": {
    "test": "echo \"Error: no test specified\" && exit 1"
  },
  "keywords": [],
  "author": "",
  "license": "ISC",
  "dependencies": {
    "@lokalise/node-api": "^7.2.0",
    "adm-zip": "^0.5.9",
    "dotenv": "^16.0.0",
    "got": "^11.8.3"
  }
}
Getting an API token to use the Lokalise API
Create an .env file on the root of the project and add your Lokalise API token. Make sure to add an API token with read and write access to your Lokalise projects. Learn how to get a Lokalise API token.
LOKALISE_API_TOKEN=<YOUR_LOKALISE_API_TOKEN>
Never publicly expose your API key!Specifically, don’t forget to add the
.envfile to.gitignore.
Create a new file called upload.js on the root of the project, and import dependencies by adding the following code:
const { LokaliseApi } = require('@lokalise/node-api');
require('dotenv').config();
Initializing the client
Add the below code to upload.js to read the Lokalise API token from the environment variable and initialize the Lokalise API client:
const { LOKALISE_API_TOKEN } = process.env;
const lokaliseApi = new LokaliseApi({ apiKey: LOKALISE_API_TOKEN});
Getting a Lokalise project ID
Add this code to upload.js, and replace <YOUR_PROJECT_ID> with your Lokalise project ID. Learn how to get the Lokalise project ID.
const lokaliseProjectId = '<YOUR_PROJECT_ID>';Your upload.js file should look similar to this:
const { LokaliseApi } = require('@lokalise/node-api');
require('dotenv').config();
const { LOKALISE_API_TOKEN } = process.env;
const lokaliseApi = new LokaliseApi({ apiKey: LOKALISE_API_TOKEN});
const lokaliseProjectId = "123.abc";
Create a translations folder on the root of the project, add an en.json file inside.
/
├── translations/
│   └── en.json
└── package.json
Populate en.json with these keys:
{
   "app.name": "Demo app",
   "app.description": "Demo app description"
}
Uploading translation files to your Lokalise project
Firstly, you need to provide translation key data encoded in Base64. You can use the Node Buffer class to store raw translation data and convert it to Base64.
Add the following code to your upload.js file to upload the translation keys to your Lokalise project using the Lokalise Node API client.
const englishI18nFile = require('./translations/en.json');
const filename = 'en.json';
const lang_iso = 'en';
(async function () {
  try {
    const data_base64 = Buffer.from(JSON.stringify(englishI18nFile)).toString("base64");
    process = await lokaliseApi.files().upload(lokaliseProjectId,
        { data: data_base64, filename, lang_iso }
    );
    console.log('upload process --->', process.status);
  } catch (error) {
    console.log('ERROR --->', error);
  }
})();
This code defines the path to your translation file, the desired file name, and the language ISO code. It provides translation key data as Base64 using the Node Buffer class to store raw translation data and convert it to Base64. The async function will trigger the upload of translation keys to your Lokalise project.
Your upload.js file should resemble the below:
const { LokaliseApi } = require('@lokalise/node-api');
require('dotenv').config()
const { LOKALISE_API_TOKEN } = process.env;
const lokaliseApi = new LokaliseApi({ apiKey: LOKALISE_API_TOKEN });
const lokaliseProjectId = '874521126244044f0d1594.60069165';

const englishI18nFile = require('./translations/en.json');
const filename = 'en.json';
const lang_iso = 'en';
(async function () {
  try {
    const data_base64 = Buffer.from(JSON.stringify(englishI18nFile)).toString("base64");
    process = await lokaliseApi.files().upload(lokaliseProjectId,
        { data: data_base64, filename, lang_iso }
    );
    console.log('upload process --->', process.status);
  } catch (error) {
    console.log('ERROR --->', error);
  }
})();
Back in the command line, run this command to trigger the upload of the translation file to your Lokalise project:
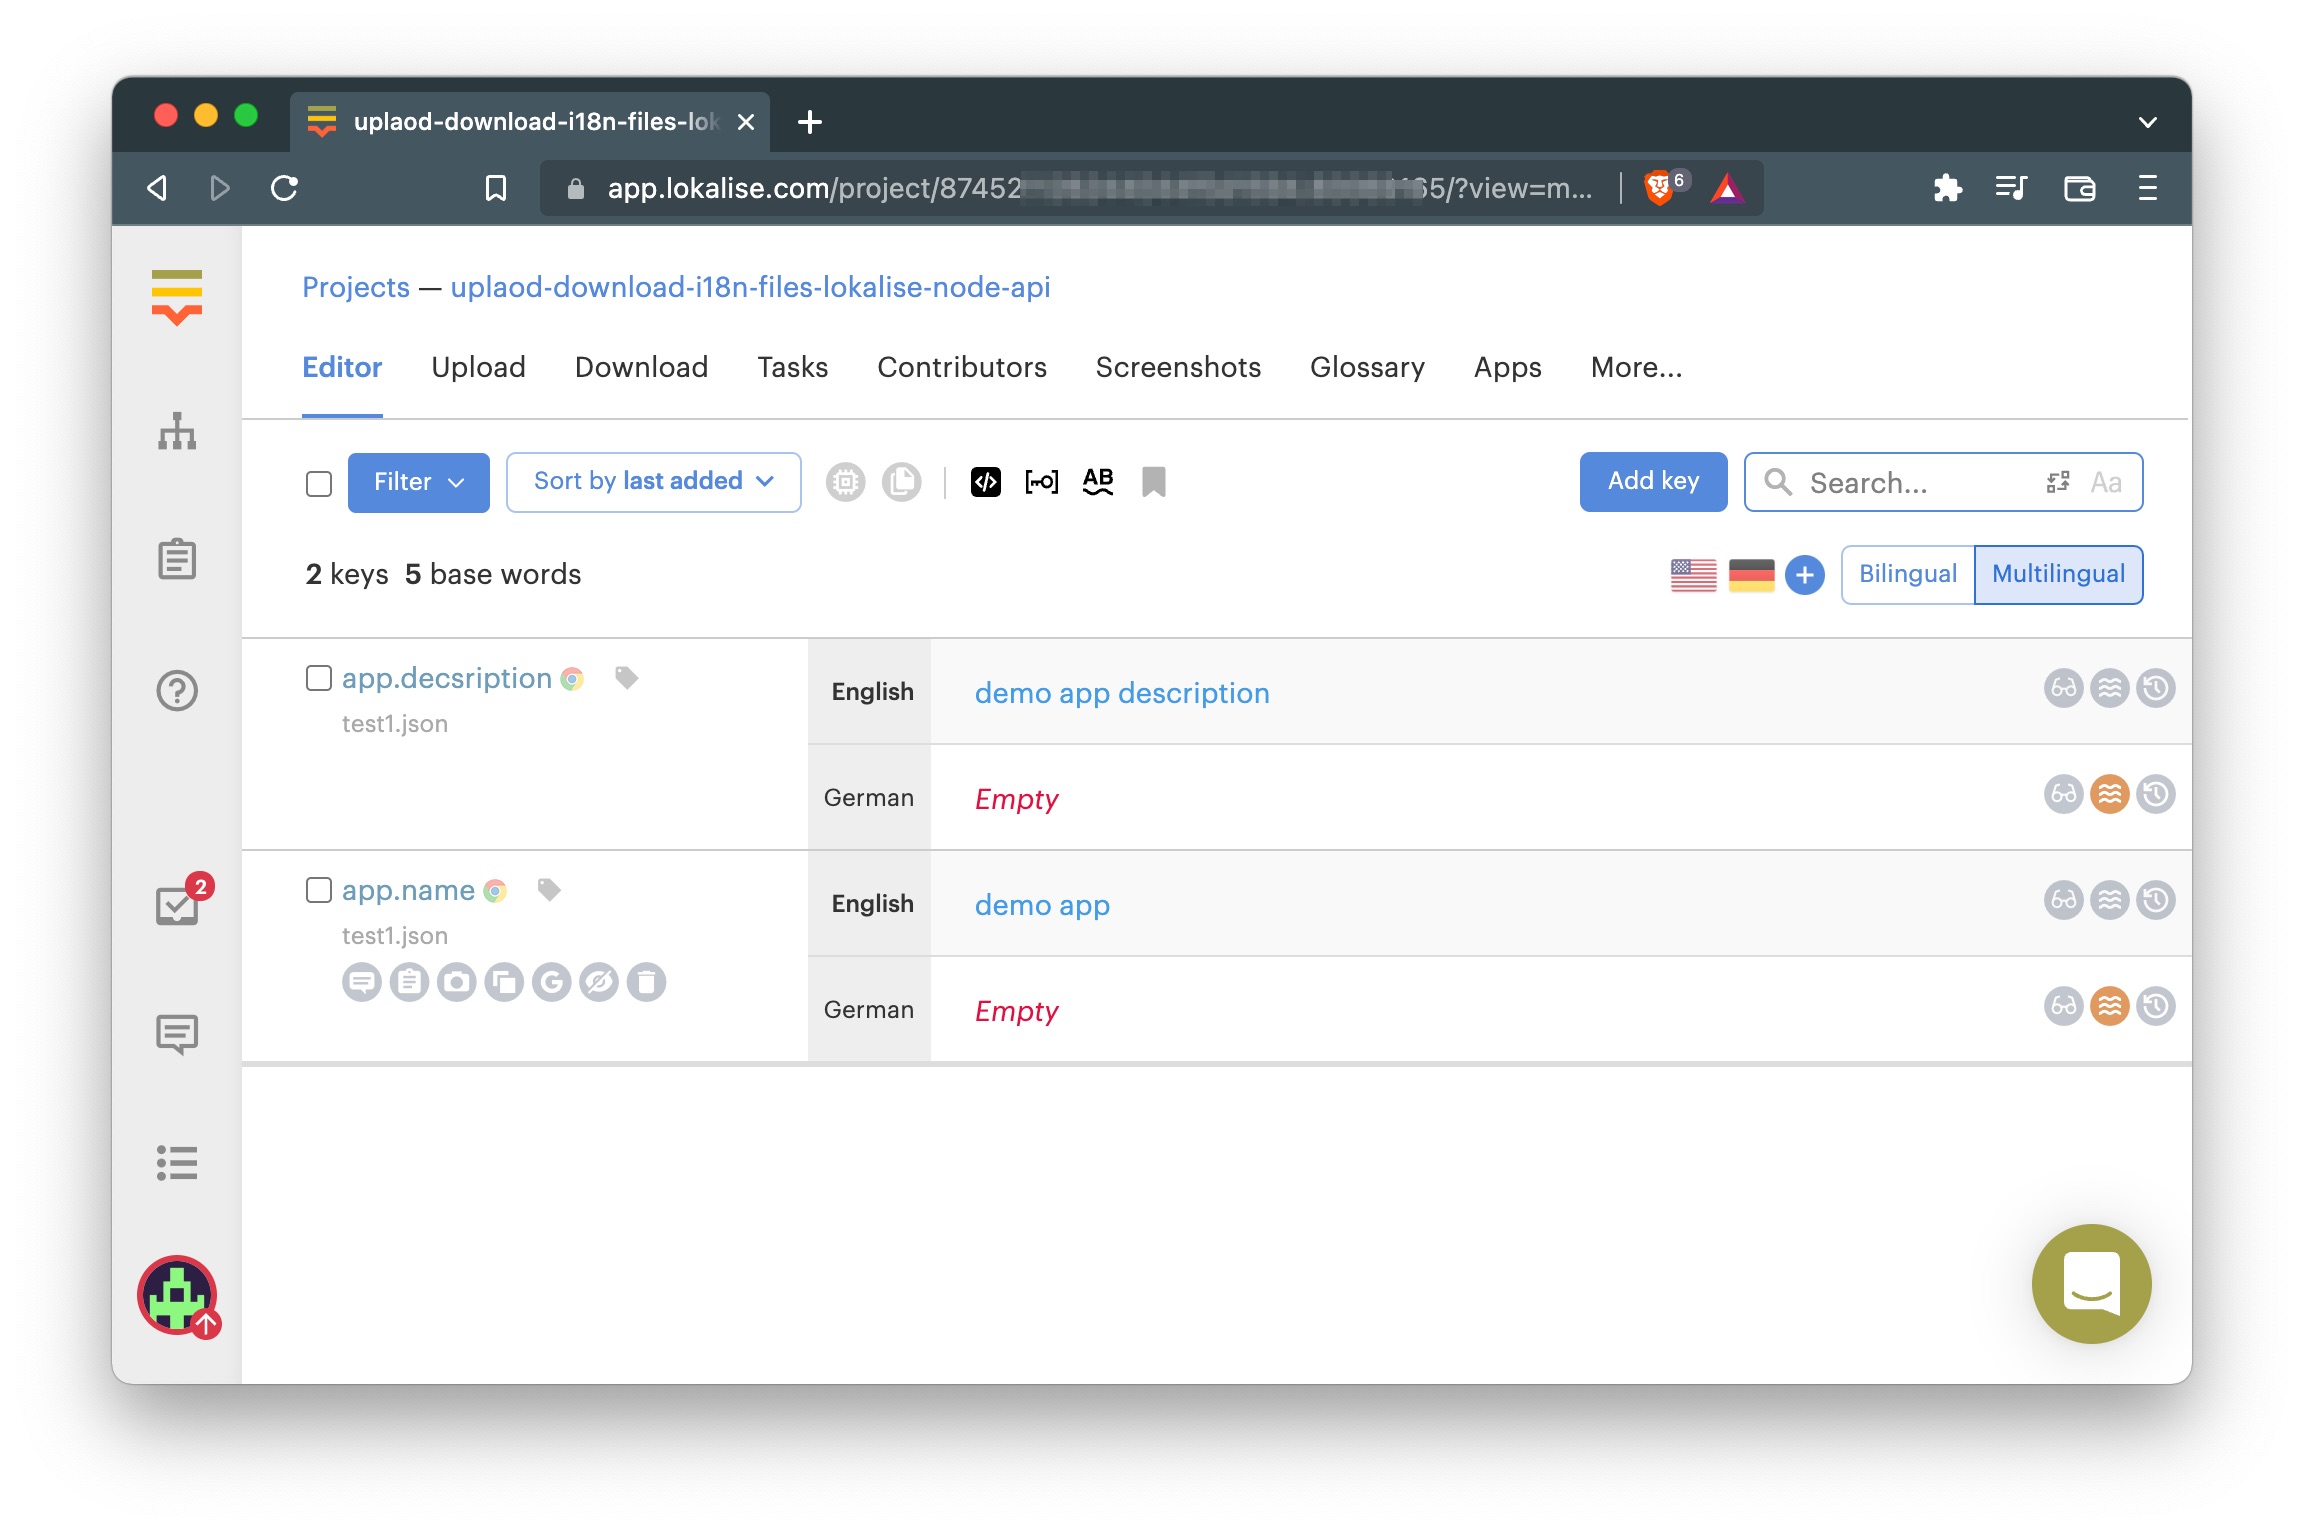
node upload.jsIf the upload is successful, you should be able to see the uploaded translation keys in your Lokalise project.

Downloading translation files from your Lokalise project
Now let's see how to download translation files. Create a new download.js file with the following content:
const { LokaliseApi } = require("@lokalise/node-api");
require("dotenv").config();
const {
  LOKALISE_API_TOKEN,
  LOKALISE_PROJECT_ID
} = process.env;
const lokaliseApi = new LokaliseApi({
  apiKey: LOKALISE_API_TOKEN
});

const fs = require('fs');
const path = require('path');
const AdmZip = require("adm-zip");
const got = require('got');

async function download(translationsUrl, archive) {
  try {
    const response = await got.get(translationsUrl).buffer();
    fs.writeFileSync(archive, response);
  } catch (error) {
    console.log(error);
  }
}

(async function () {
  try {
    const i18nFolder = path.resolve(__dirname, 'translations')

    const downloadResponse = await lokaliseApi.files().download(LOKALISE_PROJECT_ID, {
      format: "json",
      original_filenames: true,
      directory_prefix: '',
      filter_langs: ['en'],
      indentation: '2sp',
    })

    const translationsUrl = downloadResponse.bundle_url
    const archive = path.resolve(i18nFolder, 'archive.zip')

    await download(translationsUrl, archive)

    const zip = new AdmZip(archive)
    zip.extractAllTo(i18nFolder, true)

    fs.unlink(archive, (err) => {
      if (err) throw err
    })
  } catch (error) {
    console.log("ERROR --->", error);
  }
})();
Your existing translations will be overwritten!Please note that this implementation will replace all existing translations with the new ones. If you don't want this to happen, you can download and extract the archive to another folder.
Now you can modify your translations in Lokalise, run node download.js, and make sure your local translations are updated with the new ones.
Nice job!
Working with an OAuth 2 flow
Source codePlease find source code on GitHub.
Setting up a project
Create a new Next.js project and add the necessary dependencies:
npx create-next-app@latest
npm install @lokalise/node-api cookie --save
Create a translations folder on the root of the project, add an en.json file, and add these keys:
{
   "app.name": "Demo app",
   "app.description": "Demo app description"
}
Registering an OAuth 2 app
Please reach out to our tech support and ask them to register an OAuth 2 app for you (if you don't have one registered already). You will be presented with a Lokalise client ID and client secret, which we will be using in the next steps.
You can store these keys in the .env.local file along with a callback URL (which we are going to code later):
LOKALISE_APP_CLIENT_ID=123abc
LOKALISE_APP_CLIENT_SECRET=345xyz
LOKALISE_APP_CALLBACK_URL=http://localhost:3000/callback
Never publicly expose your OAuth 2 client secret!Specifically, don’t forget to add the
.env.localfile to.gitignore.
Implementing an OAuth 2 flow
Open the pages/index.js file and place the following content in it:
import Head from 'next/head'
import { LokaliseAuth, LokaliseApiOAuth } from '@lokalise/node-api'
import { useRouter } from 'next/router'
import cookie from "cookie"

const {
  LOKALISE_APP_CLIENT_ID,
  LOKALISE_APP_CLIENT_SECRET,
  LOKALISE_APP_CALLBACK_URL
} = process.env;

export async function getServerSideProps({ query, req }) {
  const lokaliseAuth = new LokaliseAuth(LOKALISE_APP_CLIENT_ID, LOKALISE_APP_CLIENT_SECRET);
  const url = lokaliseAuth.auth(["read_projects","read_files","write_files"], LOKALISE_APP_CALLBACK_URL, "random123");
  const apiToken = req.cookies['lokalise-api-token'];

  return {
    props: {
      url,
      isAppAuthorized: !!apiToken || false,
      isUrlQueryAuthorized: !!query.authorized || false
    }
  }
}

export default function Home({ url, isAppAuthorized, isUrlQueryAuthorized }) {
  const router = useRouter();
  if (isUrlQueryAuthorized && (typeof window !== "undefined")) {
    router.push('/', null, { shallow: false })
  }

  return (
    <div>
      <Head>
        <title>Nextjs Lokalise Oauth2 flow demo</title>
        <meta name="description" content="Lokalise API demo" />
        <link rel="icon" href="/favicon.ico" />
      </Head>
      <header>
        <nav>
          <ul>
            <li>
              {!isAppAuthorized && <a href={url}>
                Connect your Lokalise account
              </a>}
            </li>
          </ul>
        </nav>
      </header>
      <main>
        <h1>
          Nextjs <a href="https://lokalise.com">Lokalise</a> Oauth2 flow demo
        </h1>
        <hr />
      </main>
    </div>
  )
}
So, we use LokaliseAuth to prepare a special login link that the customer should visit to explicitly grant our app the necessary permissions (in this case, we are requesting three permissions: read projects, read files, write files).
Callback
Now let's code the callback page — this is the page your users will be redirected to after logging in via Lokalise. Therefore, create a new pages/callback.js file, like so:
import { LokaliseAuth } from '@lokalise/node-api'
import cookie from "cookie";

export async function getServerSideProps({ query, req, res}) {
  const authtoken = query.code || '';
  var cookies = cookie.parse(req.headers.cookie || '');

  if (!cookies['lokalise-api-token']) {
    const lokaliseAuth = new LokaliseAuth(process.env.LOKALISE_APP_CLIENT_ID, process.env.LOKALISE_APP_CLIENT_SECRET);
    const { access_token } = await lokaliseAuth.token(authtoken);

    res.setHeader(
      "Set-Cookie",
      cookie.serialize("lokalise-api-token", access_token, {
        httpOnly: true,
        maxAge: 60 * 60,
        sameSite: "strict",
        path: "/",
      })
    );
  }

  res.writeHead(301, { Location: '/?authorized=true' });
  res.end();

  return { props: {}};
}

export default function Callback( ) {
  return (
    <div>
     {/* CALLBACK PAGE */}
    </div>
  )
}
Thus, effectively we are using a secret code generated by Lokalise to request an OAuth 2 token. Once this operation is complete, we simply redirect the customer back to the main page of the app.
Logging out
Finally, let's display a "logout" link if the customer has already logged in. Open the pages/index.js file and tweak it in the following way:
return (
  // ...

  <li>
    {isAppAuthorized && !isUrlQueryAuthorized && <a href='' onClick={async (event) => {
      event.preventDefault();
      await fetch("/api/logout", {
        method: "post",
        headers: {
          "Content-Type": "application/json",
        },
        body: JSON.stringify({}),
      });
      router.reload(window.location.pathname)
    }}> Sign out </a>}
  </li>
)
Now add the pages/api/logout.js file:
import cookie from "cookie";

export default (req, res) => {
  res.setHeader(
    "Set-Cookie",
    cookie.serialize("lokalise-api-token", "", {
      httpOnly: true,
      expires: new Date(0),
      sameSite: "strict",
      path: "/",
    })
  );
  res.redirect(200, '/');
  res.end();
};
Way to go!
Listing a user's projects
Next up, let's use the OAuth 2 token to send an API request and fetch the currently logged in user's projects. To achieve this, amend the pages/index.js in the following way:
import Head from 'next/head'
import { LokaliseAuth, LokaliseApiOAuth } from '@lokalise/node-api'
import { useRouter } from 'next/router'
import cookie from "cookie"

const {
  LOKALISE_APP_CLIENT_ID,
  LOKALISE_APP_CLIENT_SECRET,
  LOKALISE_APP_CALLBACK_URL
} = process.env;


export async function getServerSideProps({ query, req }) {
  const lokaliseAuth = new LokaliseAuth(LOKALISE_APP_CLIENT_ID, LOKALISE_APP_CLIENT_SECRET);
  const url = lokaliseAuth.auth(["read_projects","read_files","write_files"], LOKALISE_APP_CALLBACK_URL, "random123");
  const apiToken = req.cookies['lokalise-api-token'];

  // ---- ADD THIS PART! ----
  let projects = null;

  if (apiToken) {
    const lokaliseApi = new LokaliseApiOAuth({ apiKey: apiToken });
    projects = await lokaliseApi.projects().list();
  }
  // ---------------------------


  return {
    props: {
      url,
      isAppAuthorized: !!apiToken || false,
      isUrlQueryAuthorized: !!query.authorized || false,
      projects: (projects ? JSON.parse(JSON.stringify(projects.items)) : []) // <---- ADD THIS
    }
  }
}

export default function Home({ url, isAppAuthorized, isUrlQueryAuthorized, projects }) { // <--- TWEAK THIS LINE
  const router = useRouter();
  if (isUrlQueryAuthorized && (typeof window !== "undefined")) {
    router.push('/', null, { shallow: false })
  }

  return (
    <div>
      <Head>
        <title>Nextjs Lokalise Oauth2 flow demo</title>
        <meta name="description" content="" />
        <link rel="icon" href="/favicon.ico" />
      </Head>
      <header>
        <nav>
          <ul>
            <li>
              {!isAppAuthorized && <a href={url}>
                Connect your Lokalise account
              </a>}
            </li>
            <li>
              {isAppAuthorized && !isUrlQueryAuthorized && <a href='' onClick={async (event) => {
                event.preventDefault();
                await fetch("/api/logout", {
                  method: "post",
                  headers: {
                    "Content-Type": "application/json",
                  },
                  body: JSON.stringify({}),
                });
                router.reload(window.location.pathname)
              }}> Sign out </a>}
            </li>
          </ul>
        </nav>
      </header>
      <main>
        <h1>
          Nextjs <a href="https://lokalise.com">Lokalise</a> Oauth2 flow demo
        </h1>
        <hr />

        // ADD THIS PART!
        <div>
          {!!projects.length && <h3> Your recent Lokalise projects</h3>}
          <ul>
            {!!projects.length && projects.map(({name, project_id}) => (<li key={project_id}>{name}</li>))}
          </ul>
        </div>
      </main>
    </div>
  )
}
Testing it out
Now you can boot your server by running:
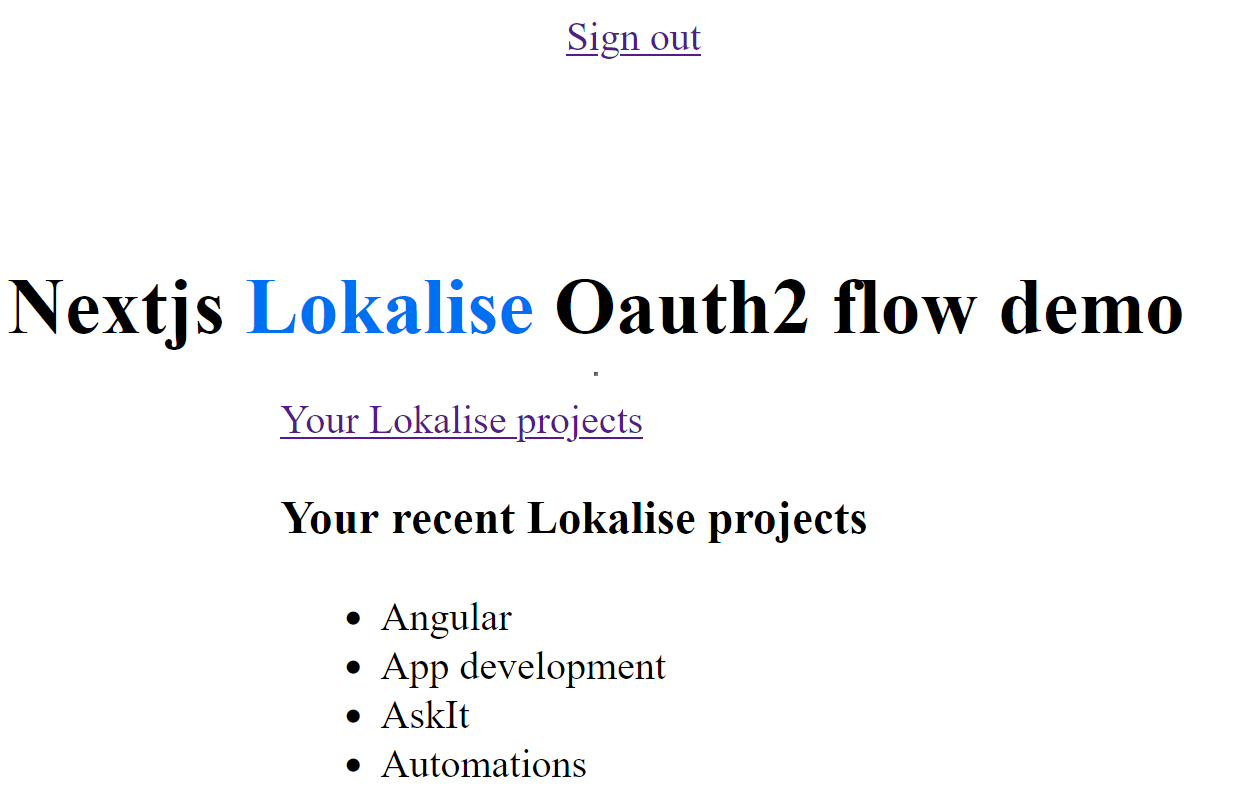
npm run devProceed to http://localhost:3000, log in with Lokalise and make sure your projects are displayed:

That's it, well done!
Updated 3 months ago