In the previous articles we have seen how to internationalize pure JavaScript, Angular, and Vue applications. However, one might still ask: “How can I translate HTML?”, “Is there an HTML translator application?” and the answer is yes!
So, in this article, I will explain how to get started on translating HTML code into different languages using Lokalise: a simple yet very powerful service. You will learn how to get started with Lokalise, how to create a new project, upload your HTML files, perform translations, use AI to do translations for you, and how to download translated HTML files. By the end of this tutorial you will be able to translate HTML like a pro!
You can also take a tour of Lokalise and learn how to use it to translate your HTML content.
Get a free trial of Lokalise
Get a free trialSample HTML page to translate
So, suppose we have the following HTML page me.en.html with English content:
<!DOCTYPE html>
<html lang="en-US">

<head>
  <meta charset="utf-8">
  <title>About Me</title>
</head>

<body>
  <h1>Hi, my name is John Doe!</h1>

  <img src="my_photo.png" alt="That's me, John!">

  <p>
    I am a Ruby/Python/Node developer with 8 years' experience.<br> I've graduated <abbr title="Massachusetts Institute of Technology">MIT</abbr> in 2007 and since that have worked with the following companies:
  </p>

  <ul>
    <li>Macrosoft</li>
    <li>Pineapple</li>
    <li>Facelook</li>
  </ul>

</body>

</html>
This is a simple markup for a typical “About Me” page found on many personal sites. We need to translate the following:
titleof the page.- Header, paragraph, and all list items.
altattribute for theimgtag.titleattribute for theabbrtag.
However, while this does not seem like a complex task, consider the following:
- First, it is important to make sure all tags and their attributes have translations. The longer your HTML document is, the harder it becomes to check all the nodes.
- Also, you’ll probably have multiple HTML pages and every document requires internationalization.
- Finally, you might not be familiar with all the languages into which the document has to be translated. This means you’ll likely need help from a professional translator and it’s unlikely that they will be an HTML expert.
Therefore, using the right translation management system is your best bet. Meet Lokalise: a very popular and the most advanced TMS and localization software out there, with the below core features:
- Ability to translate various types of content with a powerful graphical editor.
- Simple file and translation project management.
- Collaborative translation.
- Localization process automation.
- AI-powered translation and quality assurance tools.
“But it’s too expensive for me!” you might think. Actually, it’s not: pricing starts from $120 per month for small teams. However, as a matter of fact, there is also a free plan which will come in handy for customers who need to translate content for their personal sites and applications. No hidden commissions, no shady schemes. Finally, open source projects can also request free access, while non-profit organizations are eligible for special discounts. Sounds good, right?
Using Lokalise to translate HTML
Setting things up
So, first things first: we need to set up our HTML translator application. If you don’t have a Lokalise account yet, get your free 14 day trial here. Once the trial ends, you will be switched to a free plan automatically. Of course, it is possible to upgrade your subscription any time.
After signing up, you will see your projects dashboard. Simply speaking, a project is a collection of translations or files to be translated (related to a single app or service), contributors who have access to these translations, as well as some other settings and features (like integrations with third-party services).
Click New project:
Choose Ad hoc documents as we’re going to translate HTML:
You’ll be presented with the following dialog:
Give your project a name (for example, “Personal site”) and choose the base language — that’s the original language of your content.
Then choose one or more target languages that you will be translating into.
Finally, you can tick the Split text into segments option. This feature can come in really handy if your document contains long texts. In this case, such texts will be visually split in the editor for your convenience. I’m going to enable this option for demonstration purposes and keep the Default rules setting.
Next, you will be redirected to the newly created project page:
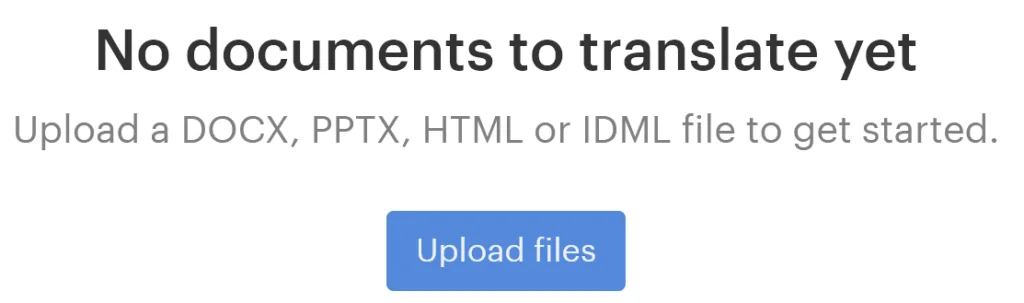
Uploading an HTML file to translate
As the next step, we need to upload (import) our HTML file therefore click on the Upload files button that is displayed in the screenshot above. You will see the uploading interface as follows:
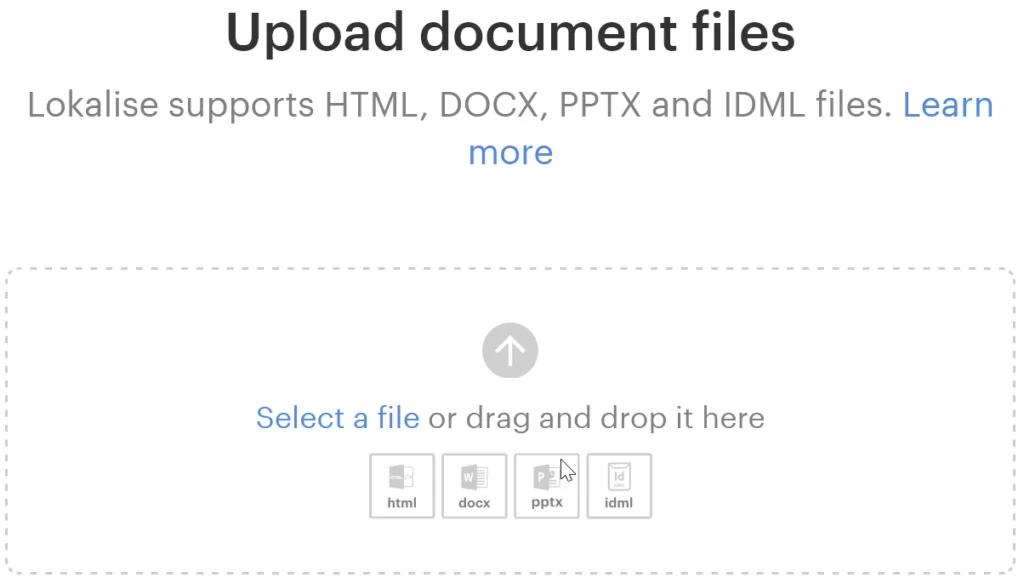
First, click the Select a file link and choose one or more HTML documents from your PC. You don’t need to tweak any uploading options to get started with HTML translation. However, if you are interested in learning about the purpose of the uploading options, refer to our “Uploading files” documentation. Also make sure the language was detected properly as shown here:

If the language is incorrect, use the dropdown and choose a different option. Also, you may rename the file by clicking on its name:
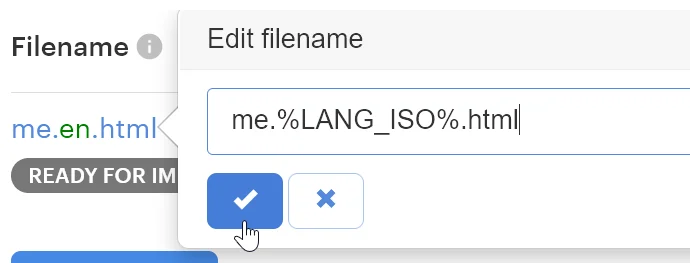
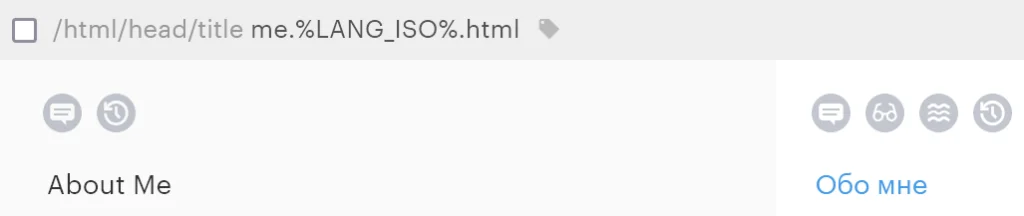
Also you will notice that the %LANG_ISO% part is added automatically. Basically, it says that the locale code will be placed in this position (it has green highlighting in the screenshot above). When downloading translation files for different languages, the %LANG_ISO% will be replaced with the proper language code, for example: me.ru.html or me.fr.html. Having a language code in the filename is beneficial because you can easily understand what language version the document contains.
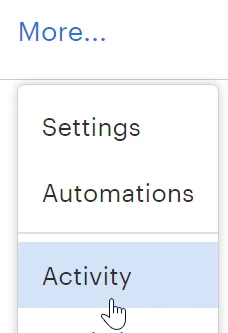
When you are ready, click the Import files button. The uploading process will happen in the background. Click More > Activity to view the progress of the job:
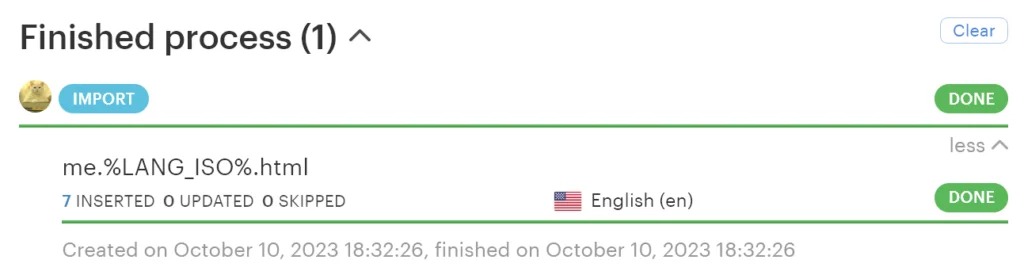
The upload will be completed within a few moments:
Now, click Editor in the top menu to proceed to your content. You should see the contents of your HTML document separated by tags:
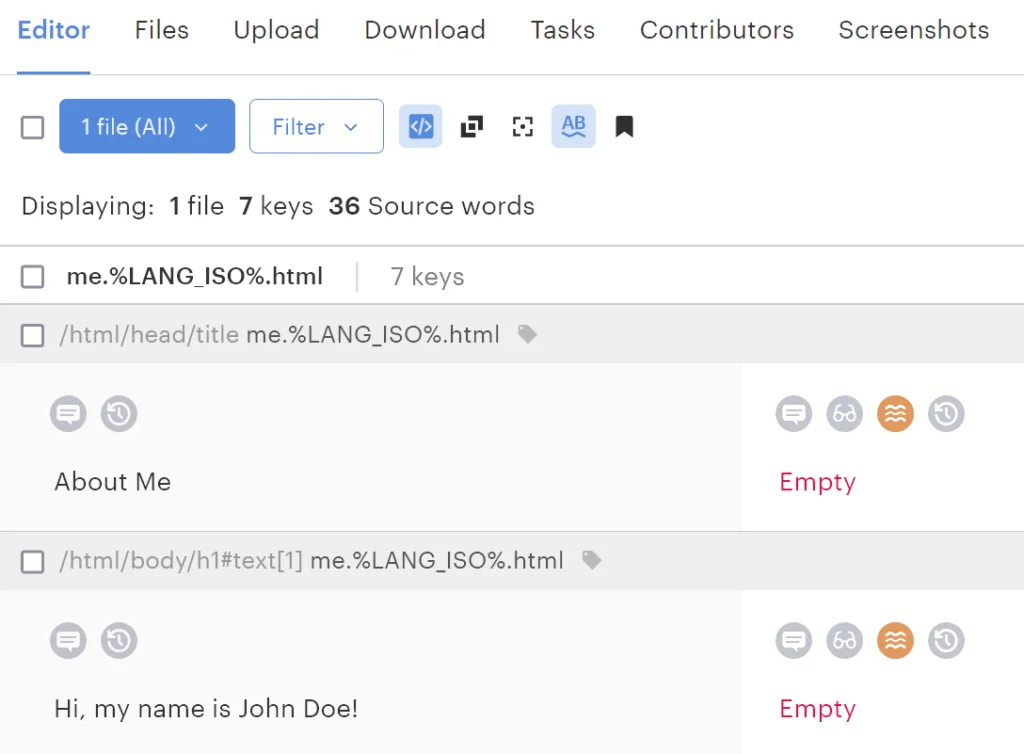
“But where are my block tags like p and ul?”, you might ask. Don’t worry: these tags are stored within your project but visually hidden in the editor. When you are going to download your document back, these tags will be inserted automatically on their initial positions. By the way, you will still see some inline tags as we’ll discuss next.
Choosing languages for translation
So, we have uploaded the HTML file and can proceed to the actual translation. To choose the source and target languages, use these dropdowns in the top menu:
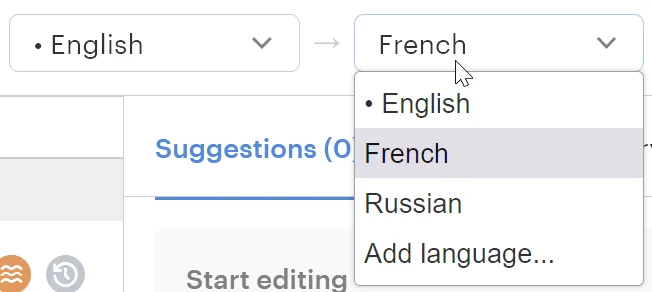
The dropdown to the left shows the currently chosen source language. In the editor its values will also be shown to the left. The small dot next to the English language means that this is also the base language of your project.
The dropdown to the right is the target language, or the language to translate into. Here you can also click Add language to add more locales to your project.
Finally, once you’ve chosen the languages, you’ll see some empty values in the editor:
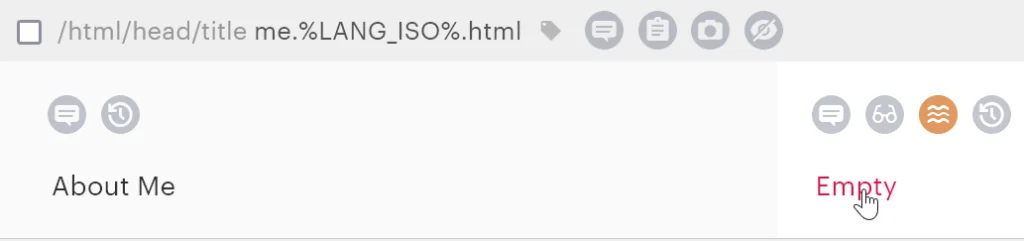
So, these are the values for the target language, and they are empty because we have not yet translated anything. The values to the left belong to the source language (which is English in my case).
Performing HTML translations
So, at this point you can go ahead and translate your content. To do that, simply click on one of the Empty values:
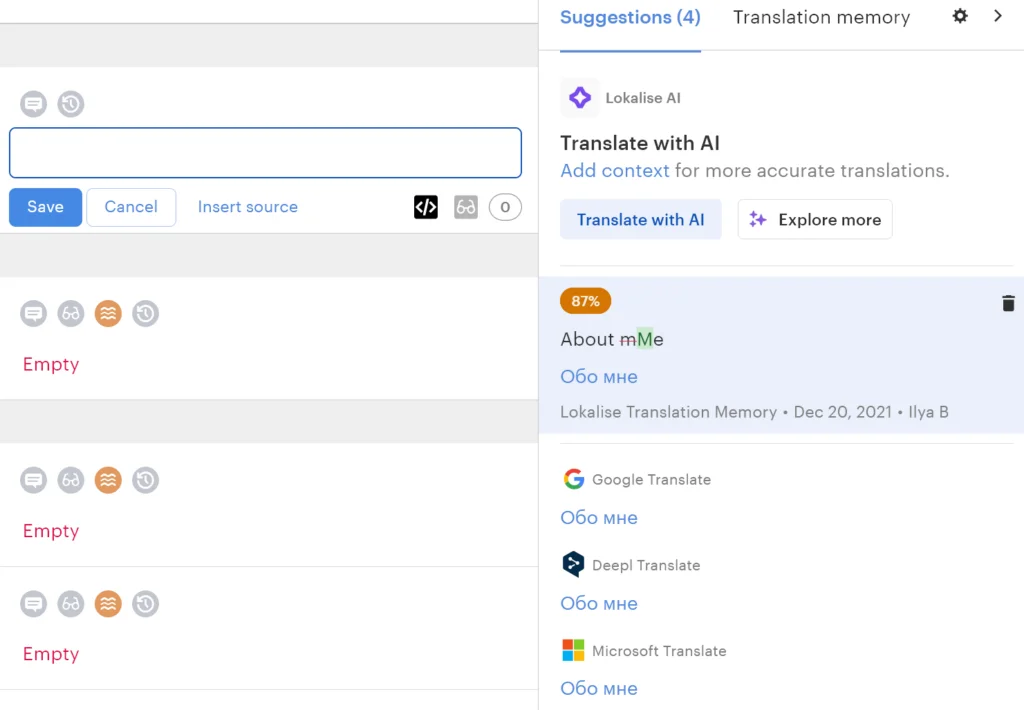
You can simply enter the translation into the text field and then click Save.
Alternatively, you can choose one of automatically generated suggestions by Google Translate, DeepL, and Microsoft Translate. Click on the suggested text to insert it into the text editor.
Above these items you might also see suggestions by “Lokalise Translation Memory” (as a matter of fact, there can be a different name). To put a long story short, this memory is a place where all your previously entered translations are stored. Then, when you’re starting to translate similar texts again, these stored values might be automatically provided for your so that you don’t need to enter the same texts multiple times.
Finally, you can take advantage of the Lokalise AI suggestions by clicking the Translate with AI button. When this button is clicked, AI will provide a translation for you but you can ask it to rephrase the text, shorten it, and perform some other actions:
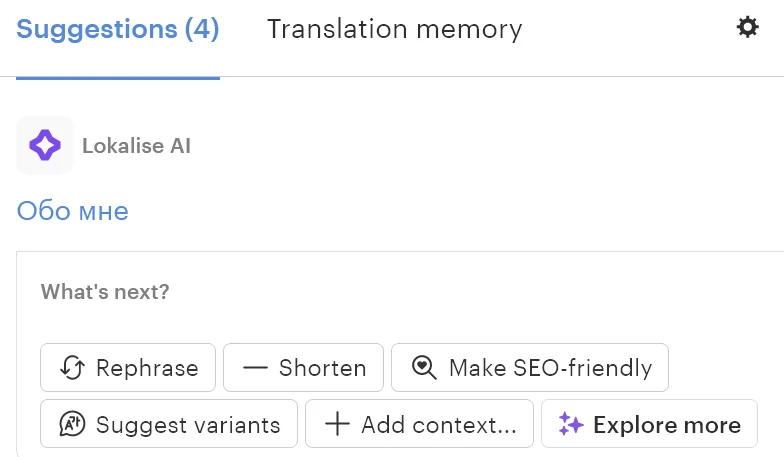
If the suggestion works for you, simply click on it and the text will be automatically inserted into the text input.
Actually, you can also translate multiple HTML tags in one go by creating a special task for Lokalise AI. I’m going to explain how to achieve this later.
Once you are ready, save your translation. It will be displayed for you in the following way:
To edit the translation, simply click on its value.
Placeholders
You might have noticed that some of your texts contain visual elements looking like this:

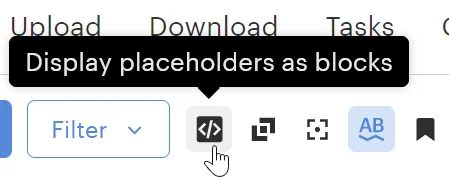
This is a block shown in a user-friendly way. However, if you would rather see the actual markup, disable the Display placeholders as blocks option:
Enabling this option can be quite convenient for translators who are not familiar with HTML markup. This is especially important if certain markup elements should not be translated or altered in any way.
Now let’s provide translation for this tag:
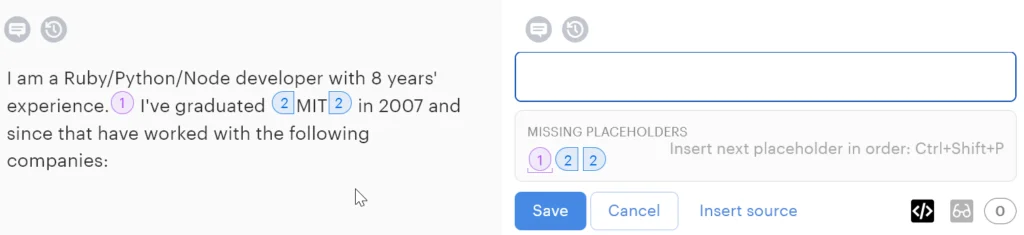
In fact, there are not one but two inline tags. The first one is the br and it is represented with a purple circle. The other is the abbr tag represented with two blue shapes (the opening and the closing tag). Thing is, the br tag should be left intact so you can simply click on the purple circle beneath the text input to insert it.
However, the abbr should actually be translated so you can temporarily disable displaying tags as blocks:
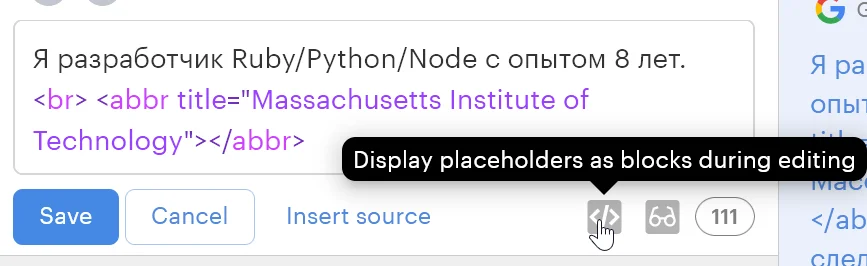
Now simply translate the title attribute.
For your convenience, you can also click the Insert source button to copy the source text into the text field for further adjustments.
Next, simply translate all other elements.
Using Lokalise AI to perform translations
If you don’t know the language that the text should be translated into, there are a few options: hire a professional, use neural networks like Google Translate to do the job for you, or utilize AI. Hiring a human translator is the safest bet and Lokalise provides an easy way to achieve that but it might be quite costly. Using neural networks is very cheap and very fast (learn how to take advantage of this feature in the corresponding document) but the translation quality might be somewhat low. Thus, recently Lokalise has introduced support for artificial intelligence that is here to assist you! You can provide translation instructions for the AI and even upload a style guide that it will follow (though I have to mention that the latter feature is in closed beta at the time of writing this article).
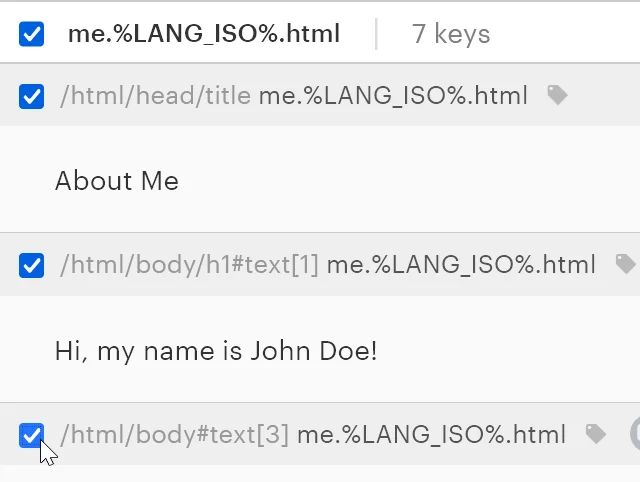
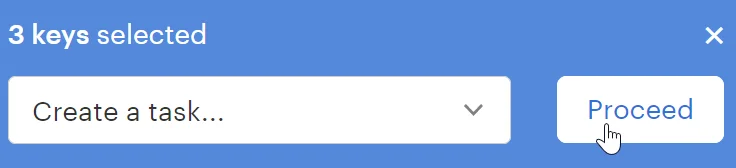
Let’s see how to get started with Lokalise AI. First, open the editor and tick all the texts that you wish to translate:
You should see a dialog in the bottom of the screen. Choose Create a task from the dropdown and click Proceed:
You’ll see the following screen:
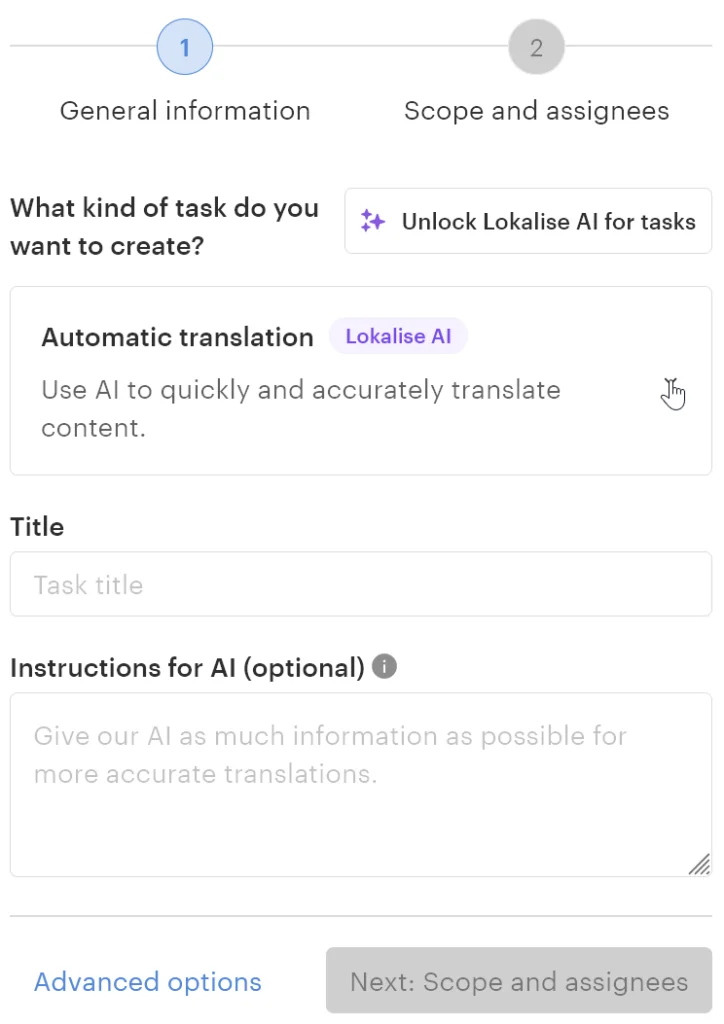
First, click on the dropdown under the What kind of task do you want to create? and make sure to choose Automatic translation.
Give your task a title, for example, “Translate French”.
Then optionally provide additional instructions for the AI that it will try to follow. For example, you can set a specific tone of voice, ask to use simple language, and so on.
Once you are ready, click Next.
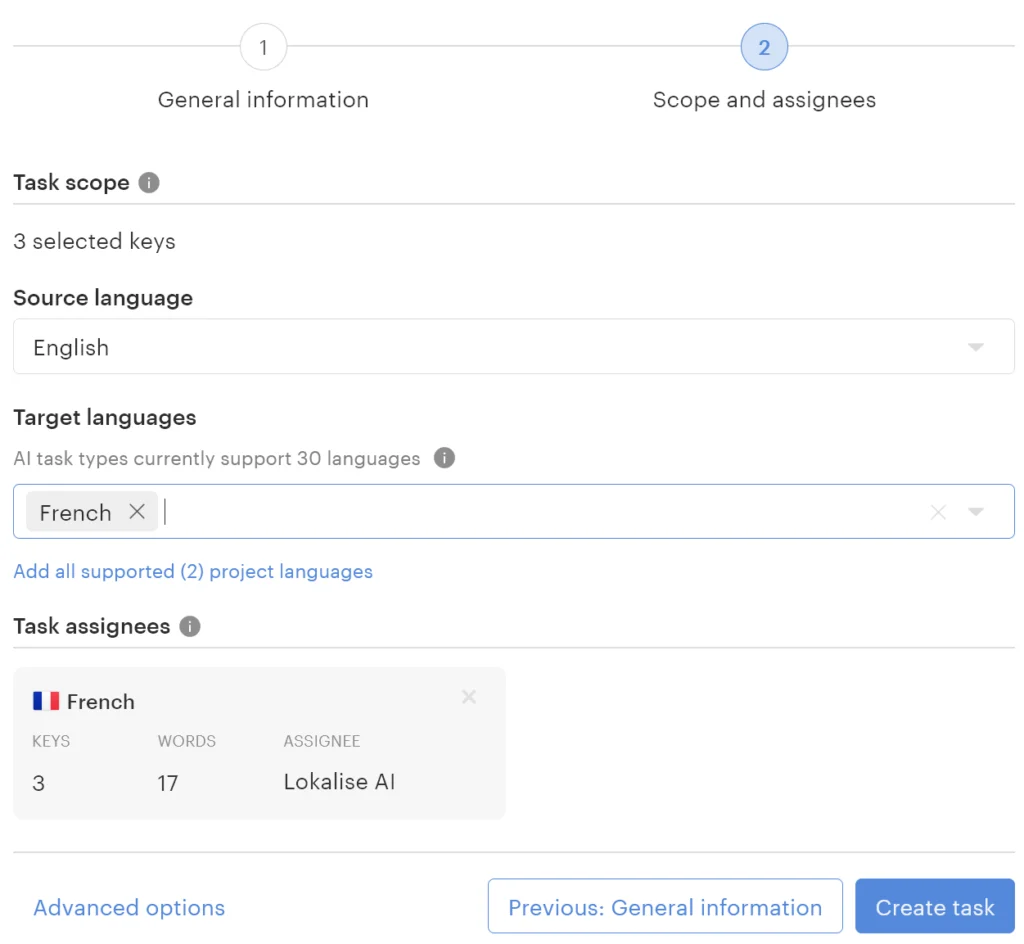
On the next page you’ll need to choose the source and at least one target language. In the example above, we are asking AI to translate from English into French.
Finally, click Create task.
Your task is now being processed:
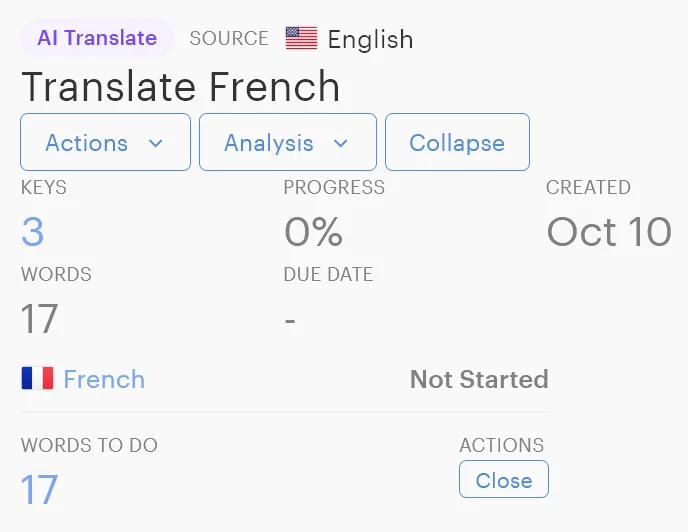
Shorter documents are translated nearly instantly but it might some time to process larger texts.
Once the task is closed, it means that the target translations are ready:
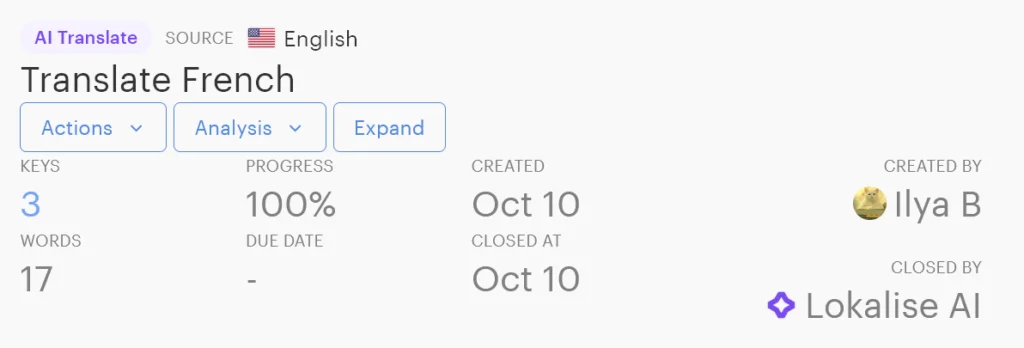
You will also receive an email notification saying that the task is completed.
You can now return to the editor, choose the corresponding target language from the dropdown, and observe the newly generated translations. While the translation quality is usually good, we still recommend checking the final result, especially if the text has high visibility and importance.
To learn more about Lokalise AI please refer to the corresponding guide on AI translations.
Previewing translated HTML files
Before proceeding to the Download page, you can easily preview the final result for your translated files. To achieve that, simply click the Open preview button in the top right corner:
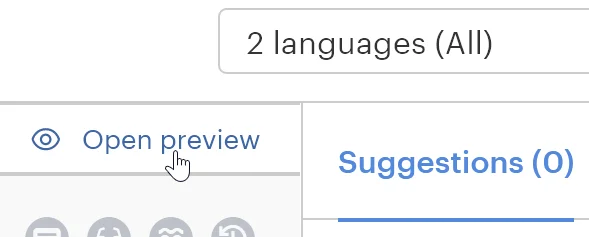
You’ll see your HTML document, and to the right there’s a dropdown to switch between locales:
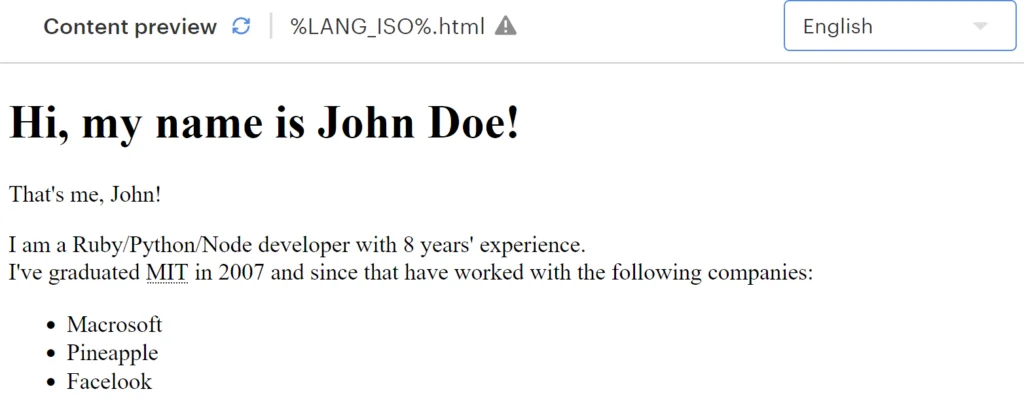
If your HTML document contains any styles, they will be applied as well.
Downloading translated HTML files
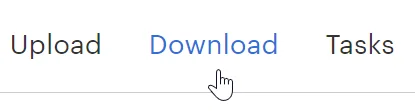
So, once you’ve translated your HTML files, it’s high time you downloaded them! Start by clicking Download in the top menu:
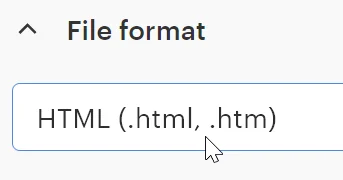
Next, choose HTML from the Format dropdown:
Next, choose the language to include into the download bundle:
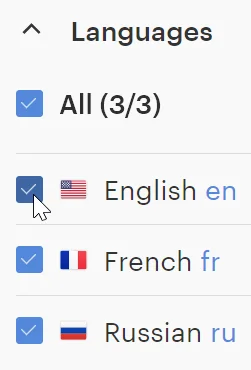
Also, you will be able to see the translation progress for each language. It is possible to tweak the language codes by clicking on them:
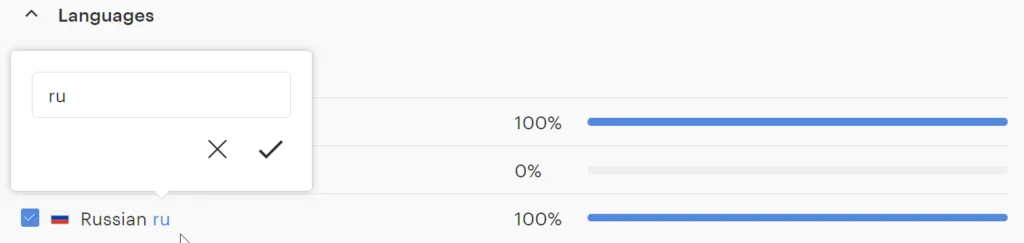
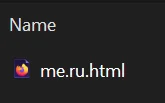
Remember that these language codes will form part of the filename (if the name has the %LANG_ISO% part). So, for the Russian language you would see me.ru.html.
After that, click the Preview button to see how your translation files will look:
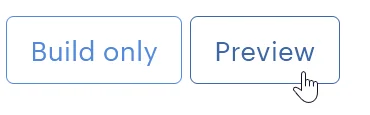
Here’s the result:
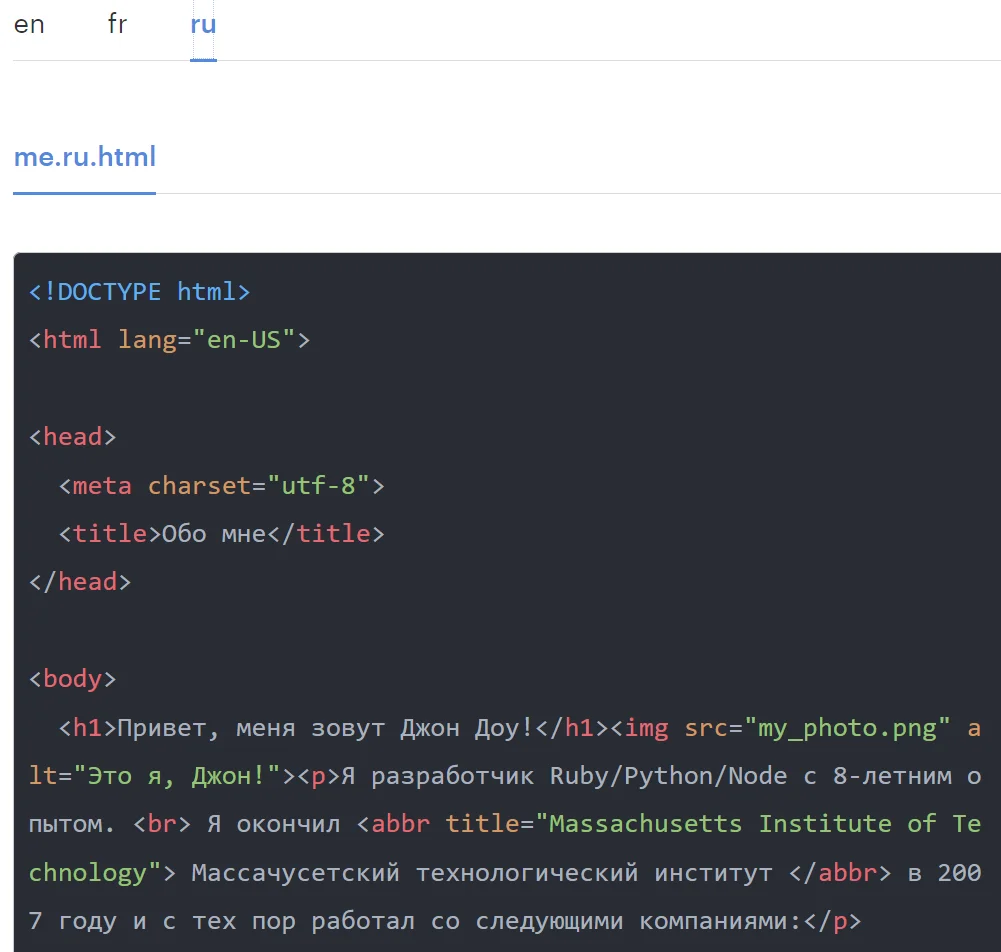
For each language, you will see the filenames and the translated content.
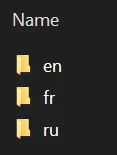
Now return to the Download page and click Build and download. You will get an archive named after your project. The archive will contain translation files for each chosen language, which are separated into folders:
As a result, you have just translated your HTML page. Congratulations!
Missing translations
Now, what if you have not yet translated some of the values? During the download, it is possible to choose what to do a with such values:
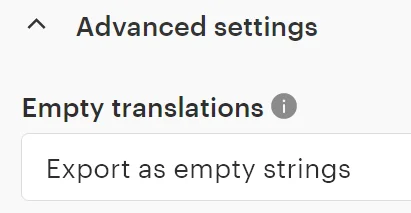
- Export as empty strings — tags that have no translations will be empty.
- Don’t export — the corresponding translations won’t be exported. For HTML documents it works in a slightly different way: if the language has no translations at all, it won’t be exported. If the language has a handful of untranslated values, they will be replaced with the original text (which is English in our case).
- Replace with base language — replaces all untranslated strings with the values from the base language.
Now, what if you would like to find all the values missing translations and deal with them? To achieve this, use the Filter dropdown on the project page and choose Untranslated:
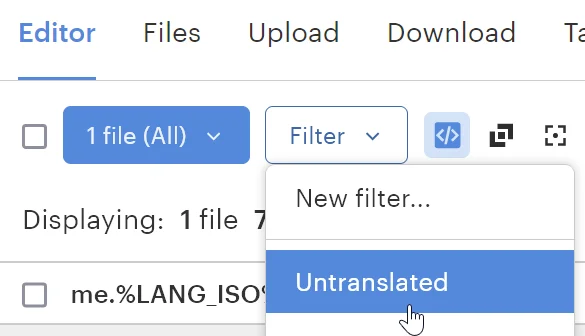
This way you will see only the untranslated values for the chosen language!
Conclusion
So, in this tutorial we have seen how to translate HTML using the Lokalise graphical user interface. Remember that you are able to upload multiple translation files into a single project and can add as many languages as needed. While we have covered quite a lot of material, Lokalise provides many other features. Here are a few suggestions that may interest you:
- Adding and managing contributors
- Ordering professional translations
- Integrating with third-party services like Asana, GitHub, Amazon S3, and many others
- Working with translation tasks
Feel free to contact us if you have any further questions or if you would like to learn more about the platform. Thank you for stopping by today, and until next time!